What Is The Best Way To Clean Windows?
It’s amazing what a difference clean windows can make to your home. Not only do they look a thousand times better; cleaning them can let in surprisingly more light, even if they were only slightly grimy.
But before you grab your trusty rag and bottle of window-cleaning product, why not consult with the pros about the best window cleaning solution? We’ll take you through the process and tell you what you should – and shouldn’t – do to achieve the ultimate clarity.
What you’ll need
The basics
- A bucket
- An old towel
- Some washing-up liquid
- A sponge or window washer
- A squeegee
- Several clean, dry microfibre cloths
Alternatives
- Vinegar
- A lemon
- Newspaper
1. Get prepared
Get your bucket and fill it with warm water, then add a few drops (about a tablespoonful) of washing-up liquid. What you don’t want here is bubbles in the bucket. If you put too much detergent in and you create a foam, start again – soap equals streaks.

One note of caution: we wouldn’t recommend washing your upstairs windows, no matter how comfortable you are on a ladder. Remember you’ll be sloshing water around and unless you really know what you’re doing, it can quickly become dangerous. Get a window cleaning professional in – even if they’re only doing the upstairs.
2. Wash the window frames
Now you’re ready to wash the frames. It’s best to start outside, where spillages and dribbles won’t matter.
Dip your sponge in, give it a light squeeze, and wipe around the frames. If it’s your first time for a while, you’ll probably need to rub hard, but as with all cleaning, start light and press harder if the dirt isn’t lifting off. (It’ll be easier next time.)
Get one of your dry cloths and wipe excess water off the frame.
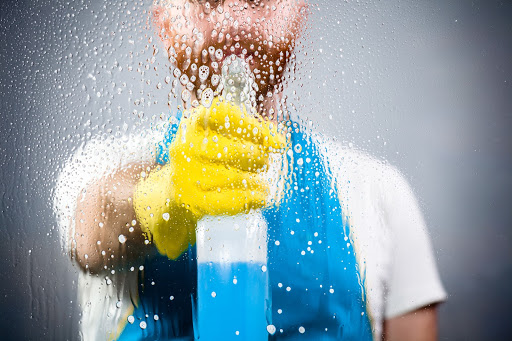
3. Wash the window panes
Now dip your sponge into the water again, bring it out and give it a really good squeeze. You want your sponge to be slightly damp, not dripping wet. If you’re using a window washer (a T-shaped contraption with a sponge bar and a handle), dip it into the bucket, bring it out and squeeze excess water off it by running your finger and thumb along its length.
Now you can set about wetting the pane. Most of the time, you’ll only need a light wash over the whole pane. You’ll only need to start rubbing harder if there are stubborn marks on there. Tree sap is particularly tough, so if your window is under a tree or shrub, you might want to use a light scourer or something slightly more abrasive than a sponge, for example, a cloth – nothing too scratchy, though.
4. Rinse with a squeegee
Now comes the most important part – removing the water. You can’t call your windows clean until this part is over, because they are essentially coated in dirty water. If you let the water evaporate, the dirt will remain, only now it’ll be mixed with sticky soap.
Here’s the expert touch: wrap a dry cloth over one finger and drag it from top to bottom right down one edge, so you have a dry line of about 1 cm (half an inch) touching the frame. This is because the squeegee won’t quite fit in the angle between the frame and the pane. If you’re right-handed, dry the left edge; otherwise, do the opposite.

Now, starting at the top left (assuming you’re right-handed), place the dry squeegee vertically on the window touching the left frame and pull it to the right. When you reach the other side, do a rotating motion with the edge of the squeegee pressed against the right frame, so it ends up horizontal, level with the bottom of the dry area.
Now – very important – dry the squeegee with a cloth.
Repeat the step above, slightly overlapping the last sweep, and keep doing it until you reach the bottom. Remember to dry the squeegee between sweeps.
Finally, you should be left with a bit of a puddle at the bottom of the frame. Flick off any excess with the squeegee and dry any remnants with a clean cloth. You should be able to get about 6–8 windows out of a cloth before switching to a new clean one.
You shouldn’t need to dry the pane with a towel or cloth after squeegeeing. Any small wet patches will evaporate.
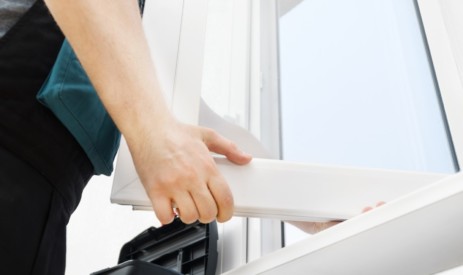
5. Go indoors
The process for cleaning indoors is exactly the same, but you should put towels or old sheets on carpets and window-ledges to minimise splashing.
Greener solutions
There are some detergent-free solutions, too. Pour some white vinegar into a spray bottle and squirt it all over the pane. Some people swear by the power of lemon – cut a lemon in half and rub it all over the pane. It definitely works … sometimes. Finally, wipe off the vinegar or lemon with newspaper.
Tools and gadgets
There are plenty of other window cleaning solutions you can buy to assist your window cleaning. Whether you invest in one depends how seriously you want to take it. Three popular ones are:
Steam cleaner
These come in hand-held and traditional canister-and-tube types, with cloth, squeegee and scraper attachments. Pressurised steam cleans the windows, which is supposed to kill germs and remove the need for detergent. They can also be adapted to clean tiling grout, mirrors, shower screens and furniture.
Window vac
Wash your windows with soapy water, suck it away with a vacuum squeegee attachment for a streak-free finish.
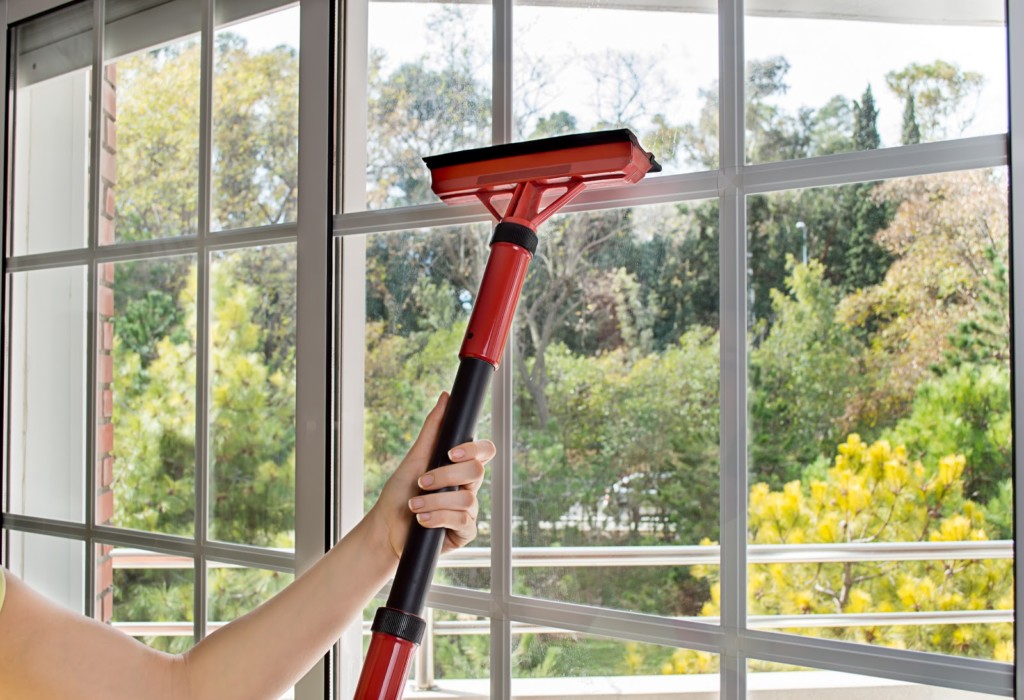
Extendable cleaner
Your squeegee and cloth are attached to the end of a long pole so you can reach your upstairs windows safely. They come in two forms: a simple extending pole, and a system that pumps water to the top. These are more useful if you clean regularly, but if you’re tackling dirty windows, you might lack the pressure and precision to do a good job.
Expert window cleaning
So there’s our guide to window cleaning like a pro. If it looks complicated, it really isn’t – it’s all about finding the method that suits you, and doing it frequently. Welcome to a new world of light!