
It’s easy to not pay much attention to your windows. As long as they let light in and open and close when required, we’re happy to let them be. But from time to time you will need to replace one or all of your windows — whether it’s a change of style, or simply age. Like many building components, windows do have a natural life, and suffer from rotting and warping, or just become grimy or unfashionable, and will need to be changed.
The vast majority of people will use a professional window fitter to install new windows. It makes good sense, as they’ll not only be quicker and probably do a good job, you’ll also get a lengthy guarantee that will protect you long into the future. If you’re replacing all the windows in a house, the team can probably do it in 1–3 days, whereas on your own, it could take weeks.
But if you want to replace a single window, there’s no reason why you shouldn’t give it a go, especially if it’s quite small and you’re an accomplished DIYer. Here’s a quick step-by-step guide to what you can expect to have to do. We’d recommend reading more deeply and watching videos before making a start.

Step 1: determine what you’re replacing
We’re assuming you’ll be buying the new window from a supplier rather than building all the woodwork or uPVC yourself. Most of the time, people will be replacing the sash (the frame that holds the window pane) rather than the whole frame or casing (the part that joins the sash to the wall). Opening or half-opening windows can be ordered whole so you can install the whole thing as one piece.
Step 2: measure up
The most important thing here is never to assume your window is perfectly square. Measure it at three points horizontally and three points vertically, and make sure you’re measuring the component you’re replacing – don’t measure just the sash if you’re replacing the whole construction. Finally, measure it diagonally both ways. If both measurements are within 1 cm of each other, you’re fine. If not, this is probably a professional job.

Step 3: ordering the window
Now you can order the window from the supplier. Remember to subtract about 1–1.5cm from your measurement. You can easily fill the gap, but if it is exactly right or a bit too big, you’ll never get it in place.
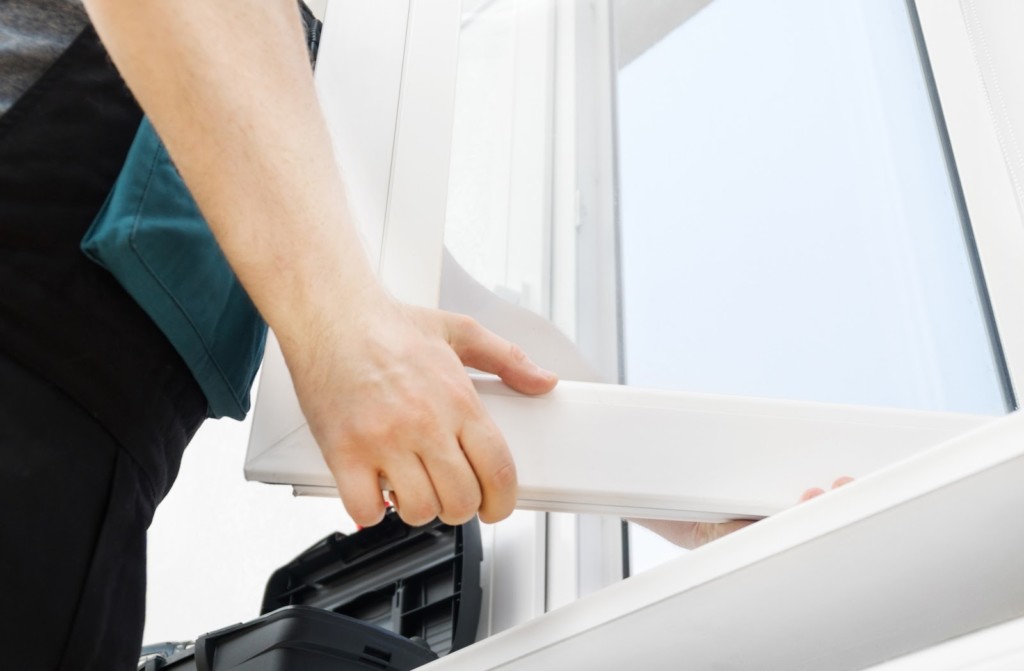
Step 4: removing the old window
WEAR SAFETY GOGGLES AND GLOVES for this part, as glass can shatter at any moment. Unscrew any opening windows and put them to one side. For the fixed windows, scrape out any putty that’s holding the panes in place, or remove trims, nails and edging that could be holding the panes firm. Assess how the frames are held in place. If they are screwed or nailed in, you might be able to remove them. However, as the sashes will be sealed and possibly painted, you might need to resort to a crowbar or heavy hammer to remove them.


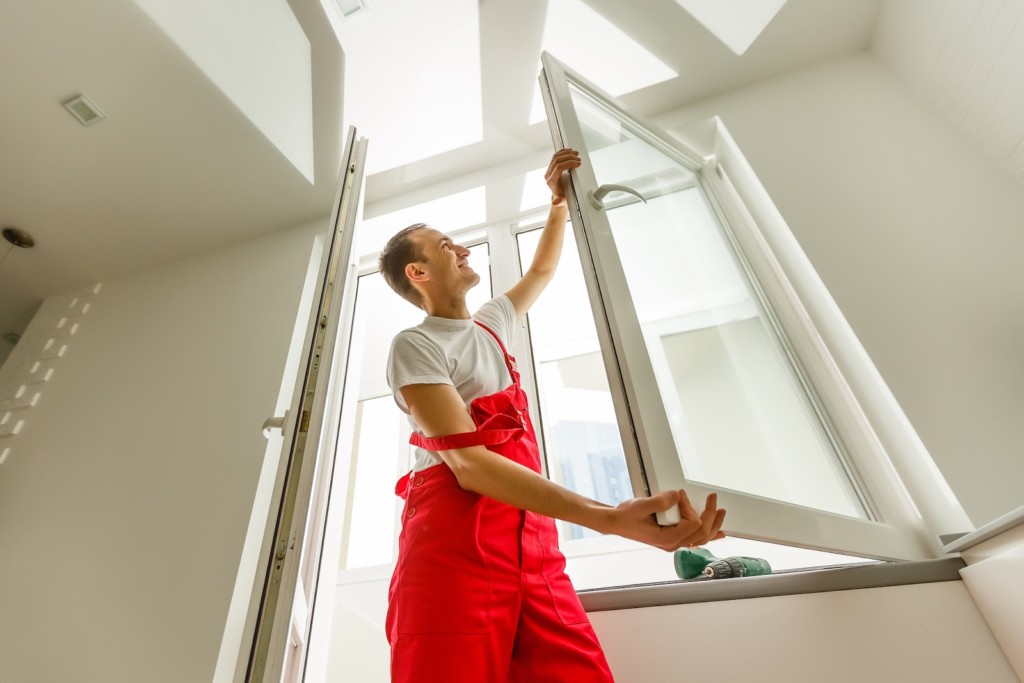
Step 5: installing the new window
Assuming the window is a whole single construction, this will be the first time you’ll see if it fits. Hopefully, it will fit snugly in the opening. Screw your outside brick mouldings to the frame – they are usually finished at 45° so they fit together like a picture frame. This will stop the frame falling out when you insert it from the inside. Next, place the new window panel in the opening, and press it against the mouldings. Check the window is level; if it isn’t, place spacers under the relevant side at the base. Now you can screw the panel to the frame on all four sides.
Step 6: finishing off
There will be a narrow gap all around the panel, so you’ll need to fill it with caulk for insulation and waterproofing. On the outside, insert the windowsill at the bottom to ensure rainwater drips over the edge of the wall and not into the brickwork (the edges don’t need sills). Nail or screw it into place.
Finally, since there will be lots of exposed screws, caulk, spacers and possibly brickwork, attach all the trims you need inside and out, and finish off the joins with a waterproof silicone filler.
Test all your opening windows and perform the “feather test” (dropping a feather down the edges of the window to see if it gets blown inwards). If everything is to your satisfaction, it’s job done.If you’re thinking about new windows for your house, take a look at all the options, from Sash to French.