
Making your own DIY garden furniture is a great way to flex your creative muscles and produce a space that’s totally unique to you. From comfy corner sofas to characterful garden accessories, making something with your own hands is both rewarding and easy on the wallet.
Whether you’re looking to give your garden a new look without breaking the bank, or simply love to get hands on with creative projects, read on for some seriously cool DIY garden furniture ideas.
How to make garden furniture from pallets
One of the best and most straightforward ways to make beautiful wooden garden furniture is through using pallets, which you can buy from most major home and DIY stores. These provide you with easy-to-assemble building blocks that look great against a garden backdrop. Once you’ve built your furniture, you can either leave it as it is for a chic, rustic aesthetic, or experiment with paint, cushions and other decorations to really amp up that personal touch.
To make any of the below pieces of garden furniture you’ll need:
- Wooden pallets
- An electric drill with screws
- Optional – outdoor-friendly paint, a paintbrush and roller tray
Seating

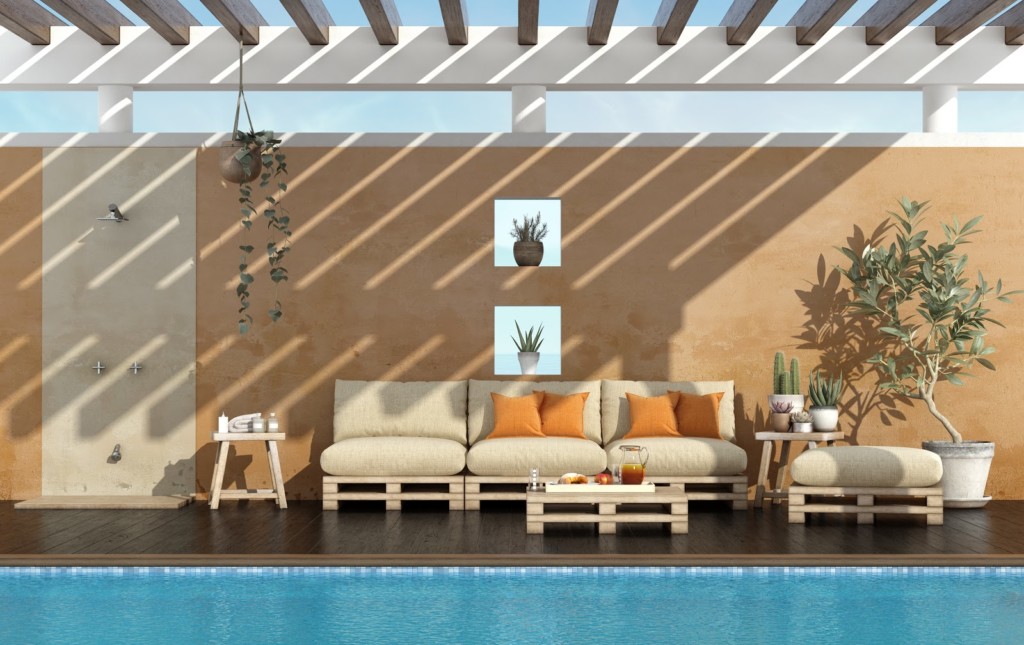
It’s easy to make seating with pallets in a variety of designs, such as cuddle seats, larger sofas and even corner sofas. To get started, follow these simple instructions:
- Paint: If you’re going to paint your pallets, do that first before you assemble your furniture. Most pallets bought from major retailers will already be treated, so it’s just a matter of painting with your chosen colour and leaving it to dry outside (on a clear, sunny day if possible!).
- Create a base: Next, create your base by stacking pallets up to your desired height. Once you’ve done this, simply secure in place using screws and an electric drill.
- Secure the back: Attach a vertical pallet to your base to create the back of the seat – again, using screws and your electric drill.
- Repeat the process: If you want to create a larger seat than the one you’ve got by this point, simply repeat the process and attach your two (or more) seats together. For something a little different to a normal two or three-seater chair, create a right angle in the seating for a cool and comfortable corner sofa.
- Decorate to taste: Now it’s time to get creative. Use scatter cushions to dress your chair, then play around with throws and even quirky finishing touches like garden fairy lights for a truly enchanting look.
Garden bar
To create a garden bar out of pallets the same rules apply as above – simply use your building blocks to get your desired shape and top with further pallets or another material of your choice to create a bar surface. If you can find some leftover tiles from another job, these can be a great option for a stylish, quirky bar that’s easy to wipe down too!
You can find lots of bar-shape inspiration on sites like Pinterest – choose from simple options like a free-standing mini bar, or more complex alternatives like a corner bar with its own dedicated seating.
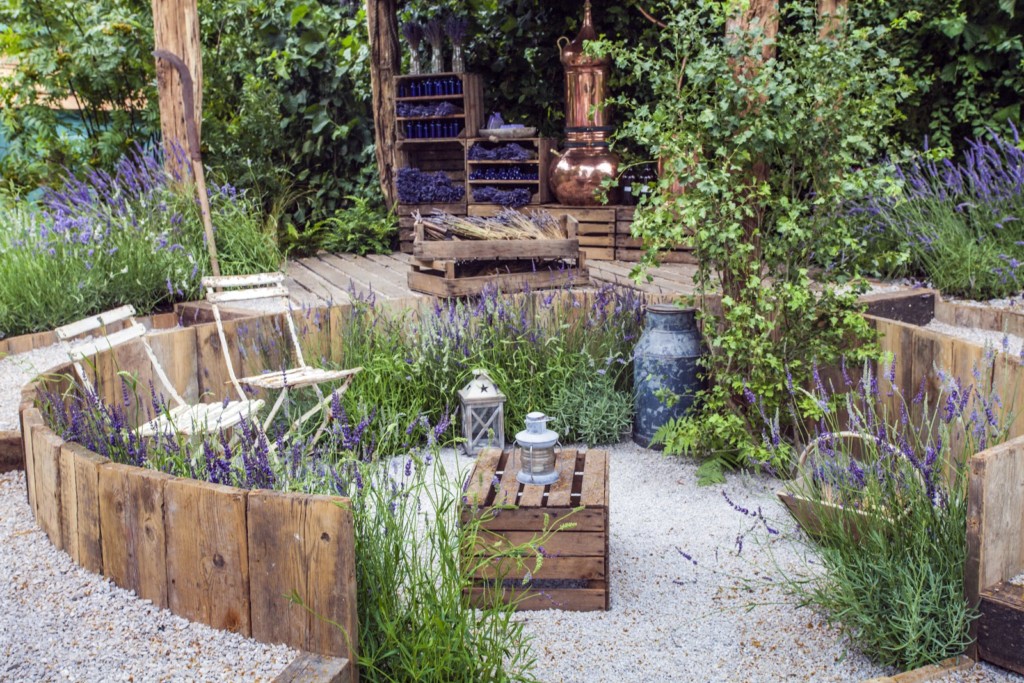
Vertical planter

To create a vertical planter out of pallets simply take one pallet and upend it, so its standing on its side. Next, attach some wooden planks horizontally to the struts on the underside of the pallet to create rows to pop your plants in. Simple!
How to paint wrought iron garden furniture
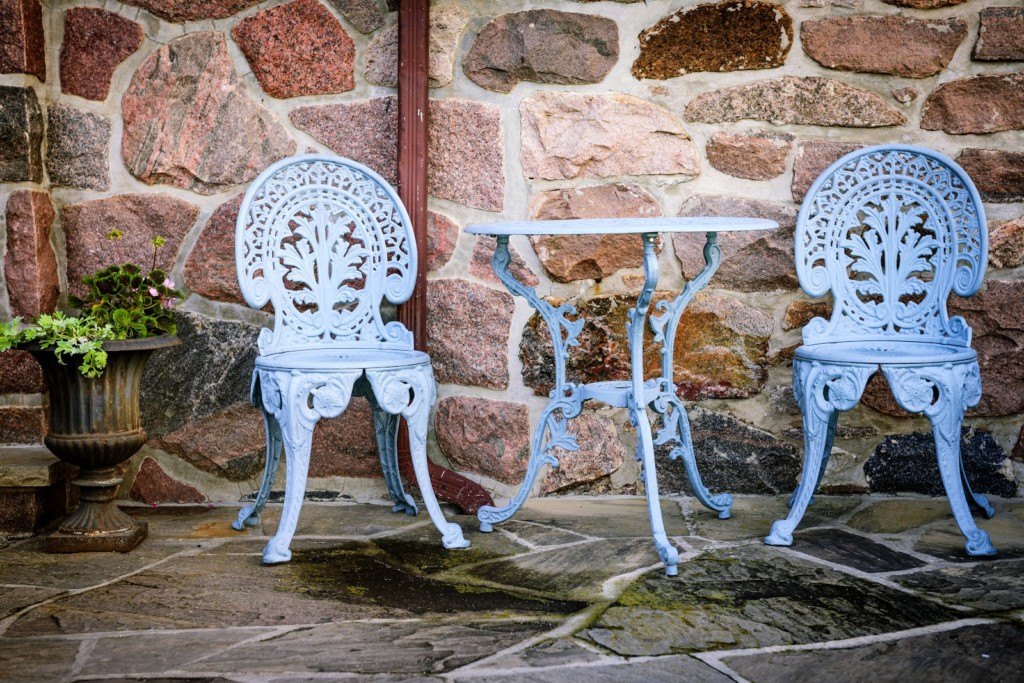
Fancy a DIY garden project but not quite up for a full building-from-scratch job? Adding a lick of paint to some of your old wrought iron garden furniture can be a great way to get a whole new look without expending too much effort. To do so, simply follow these instructions on a clear, dry day outside:
- Sterilize the furniture: pop on some heavy-duty rubber gloves and cover the furniture in a fungicidal wash or sterilizing solution to clean it of any mould, spores or algae. Leave for 24 hours before rinsing with clean water, and make sure to do this process away from children and pets.
- Remove any existing paint flakes: Using a steel brush or scraper should do the trick! It’s also wise to put a dust sheet under the furniture to keep mess to a minimum.
- Sand the furniture: With a sanding block and some wet and dry abrasive paper you should be able to get the job done. Just be sure to wear a protective dust mask.
- Wash the furniture: Clean the furniture using some warm soapy water to get rid of any dust or paint flakes.
- Use a primer on the furniture if needed: While some paints can be applied directly to your wrought-iron furniture, others require you to use a primer first. Read the instructions carefully and apply the primer if needed.
- Paint away! It’s time to paint your furniture in your chosen colour for a beautiful, revived finish that adds that extra bit of je ne sais quois to your garden. Follow the packet instructions carefully when painting, as some brands require you to leave a specific amount of time between applying coats.
Getting creative in the garden is a great way to wile away summer days, and can result in a beautiful space that feels that bit more rewarding than simply buying-in. With the simple DIY hacks above, you’ll be well on your way to an outdoor area that’s functional, stylish, and – most importantly – 100% unique.