
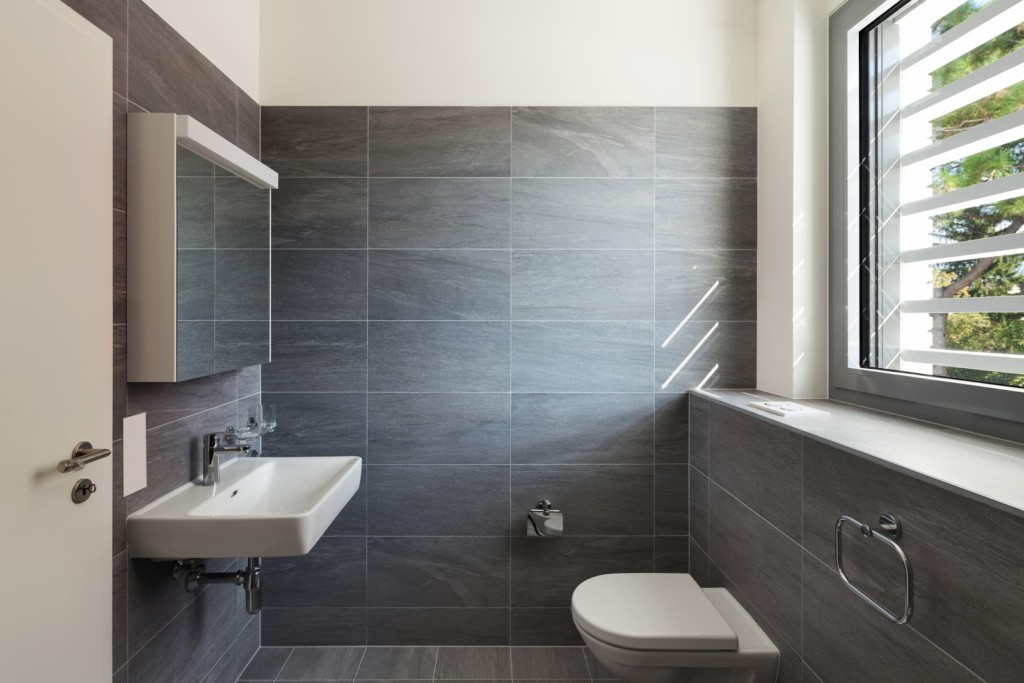
Tiles can really make or break a bathroom. And with an endless choice of designs to choose from, you can make the space feel exactly as you want it to, while maintaining its waterproofing and making it hygienic and easy to clean.
But if you’re doing the tiling yourself, you need to do it right. This is because a good job can last for decades if you want it to, while cutting corners will mean you may soon discover cracks in your tiles and patches of mildew. Read on for some top tips on how to make your bathroom tiling a great success.
1. Choose the best quality tiles
When you’re tile shopping, you’ll often walk into your DIY superstore and see boxes of tiles piled high and sold cheap. It seems like a no-brainer compared to some of the pricier tiles a few metres down the aisle. But don’t fill your trolley just yet. Why are they so cheap? Chances are, they’ll be thinner, and are probably ceramic rather than porcelain. That means they’ll be lower quality, more porous and more likely to crack.

2. Make sure the wall is clean and smooth
You might have scraped all the old tile adhesive off the wall or, if it’s a new job, done a fine plastering job. But if there’s any dust, sediment, dirt or oil left on the surface, that’s what your adhesive will be sticking to – not the wall itself. Also, if there are any holes or cracks in the wall, the tiles will have nothing to adhere to properly at all. First, fill the holes and cracks with filler. Then, sand down the wall to make it smooth, and wipe it clean with a damp sponge and let it dry out. Only after all this will it be ready to tile.
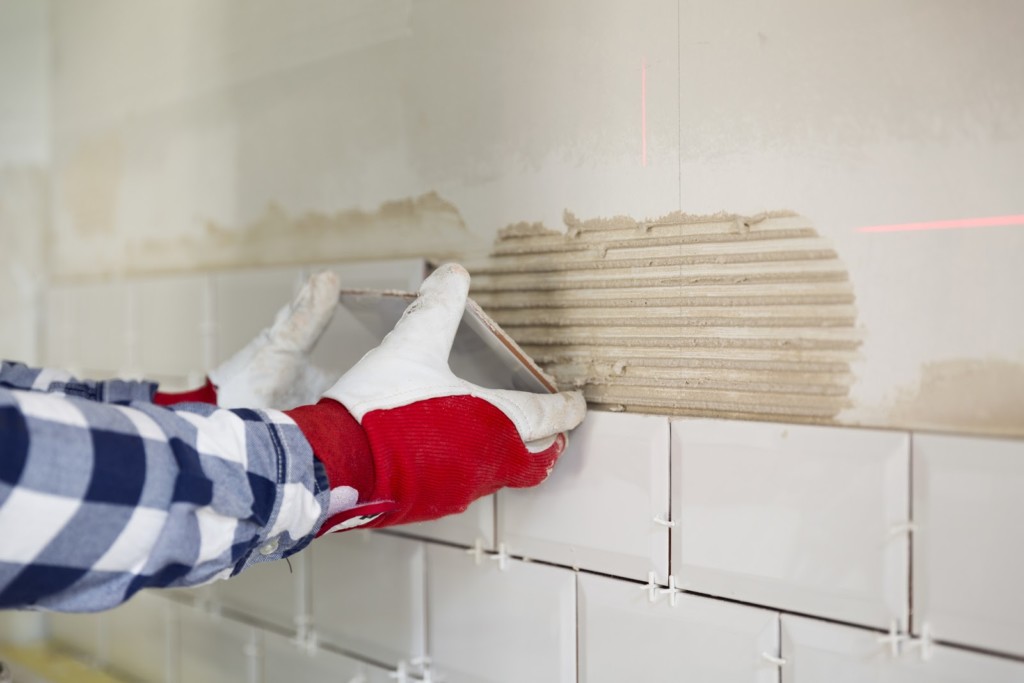
3. Find the middle
One sign of an amateur tiling job is when an area of tiling is not symmetrical. Professional tilers always find the middle of a wall or shower cubicle side, draw a vertical line and tile outwards from it. You’ll probably end up with a cut tile at both ends, but it will be the same on both ends, and such things matter! You can also use a laser level to help keep things centralised.
4. Plan your layout
When you’re eager to get going, it’s tempting to just dive in and start tiling. But doing so means you may end up with problems later down the line, especially if you’re making a more complex layout with a repeating pattern. Work out exactly how many tiles will fit vertically and horizontally (remember the spacing in between), and carefully plan the arrangement before you start. You won’t regret it.
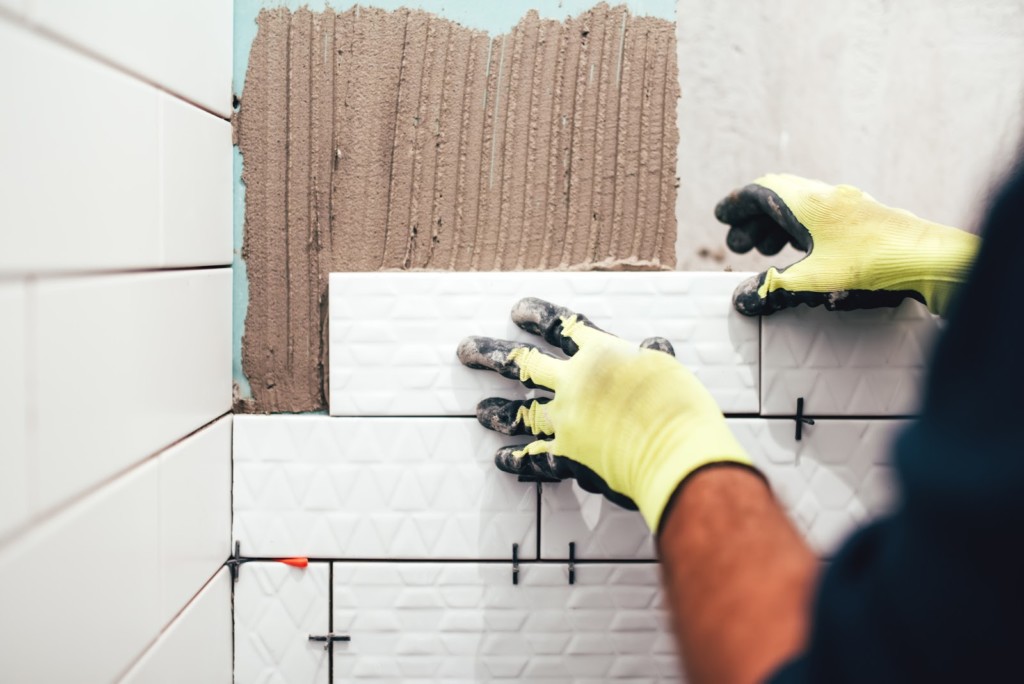
5. Use spacers
A big bag of X-shaped spacers only costs a few pounds, but they are such a perfect way to ensure equal tile spacing over a whole wall. Don’t use matchsticks of guesstimation. If you’re doing an overlapping brickwork arrangement, you can get T-shaped spacers.
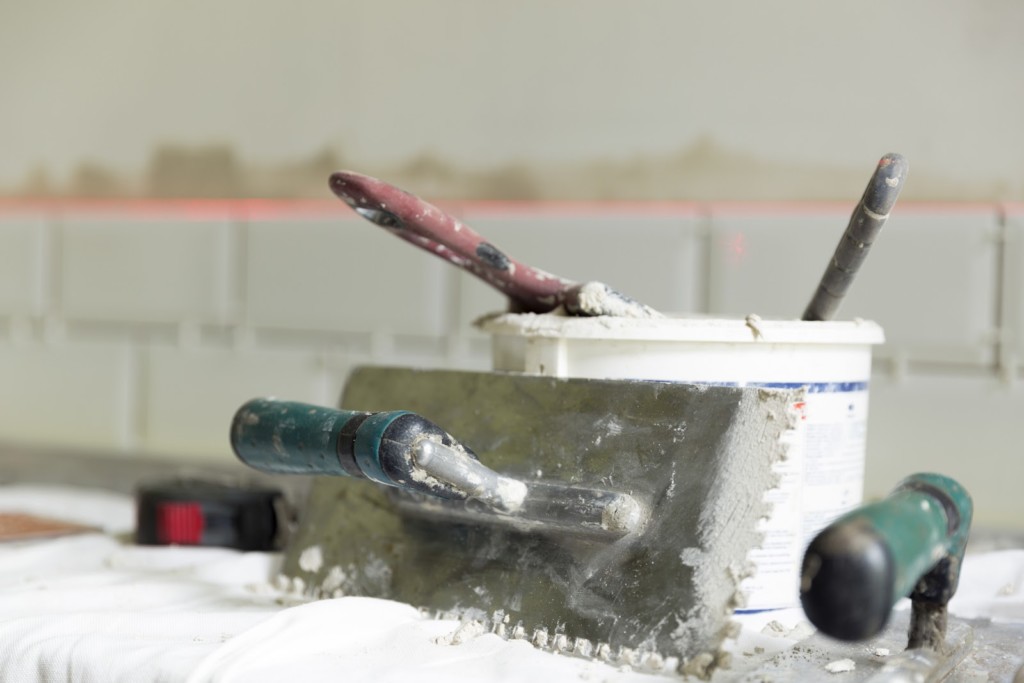
6. Use a notched trowel
The notched trowel makes sure you put exactly the right amount of adhesive on the wall, so none of your tiles will stand proud or sunken. The gaps between the lines of adhesive get squeezed out when you press the tile against the wall, so you don’t end up with a cream cake effect.
7. Invest in a tile cutter
If you’re doing a big job, it’s probably worth getting a manual tile cutting machine. They can cost anything from £10 to £100, but they’ll save you hours of scraping with the little hand-held cutters, and you’ll get cleaner, more consistent cuts and fewer wasted tiles.
8. Choose the right grout
The grout that fills the spaces between the tiles is vital for creating a waterproof seal between the wall and the shower, bath or splashback tiling. That’s why you need to make sure you choose a grout with good water resistance. Most grouts are indeed water-resistant, but in the bathroom, where it gets humid and damp, mould can be a real problem. Make sure you get a mould-resistant grout. Modern epoxy grouts cost a little more than traditional cement-based ones, but they have natural mould resistance built in. Also make sure you get the right colour – not all grouts are white.
9. Choose the right sealant
Sealant is not the same as grout – it’s used to seal the edges of tiling, particularly where it meets other materials and surfaces. The best type of sealant to use where tiling meets a bath, shower tray or basin is 100% silicone sealant. It’s usually white, but you can get it in different colours to match your grout. Silicone is waterproof, mould-resistant and flexible, which is essential as there will always be movement between walls and furniture. Experts always half-fill the bath with water so it lowers a little. That way, the sealant won’t stretch too much whenever you have a bath.
10. Use new sealant
Sealant will go off in the tube after a few weeks of being open, so don’t be tempted to use that tube in the loft that you half-used in 2013.
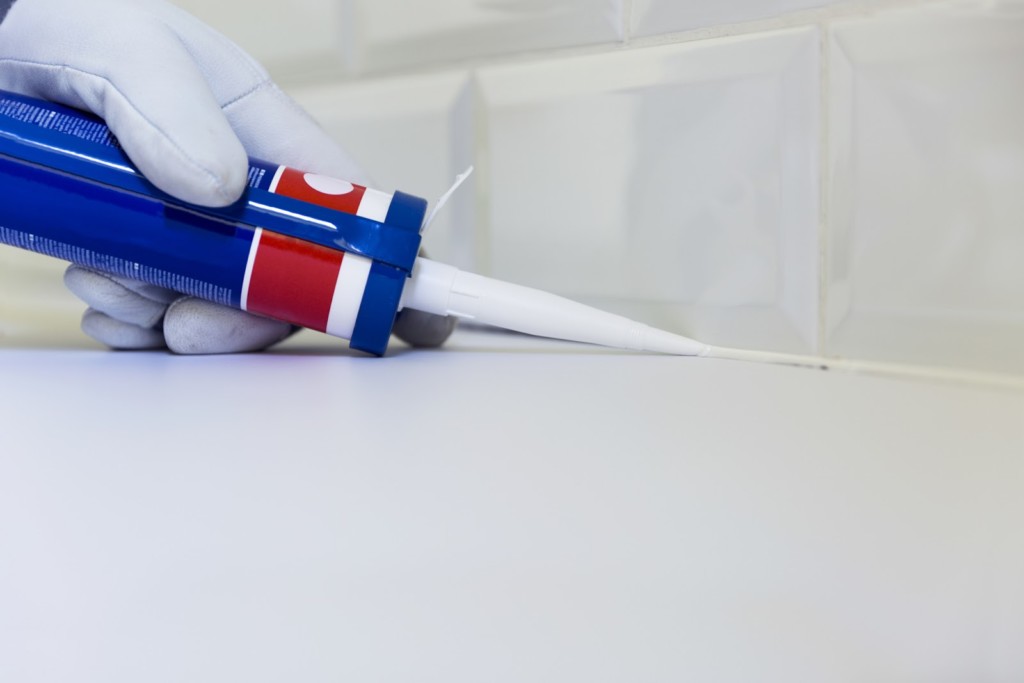
11. Cut the tip well
Make sure you get a nice clean cut of the sealant nozzle. Sealant guns often come with a cutter in the handle, but they can be quite crude – you’re better off using a utility knife. Cut a small hole at 30–45° so it’s easier to apply. If your hole is too small you can cut a bigger one, but if it’s too big you can’t make it smaller.
12. Degrease silicone joints
Before you apply silicone to tiles, tubs, trays and basins, degrease your surfaces with a good cleaner. You can get specialist degreasing fluids, but methylated spirit will clean up grease perfectly well. Give it a wipe and any that’s left over will evaporate.
13. Use a profiling tool, not your finger
It’s received wisdom that when sealing a bath against a tiled wall, you put tape along the wall a few mm from the edges, fill the join with silicone, lick your finger and run it along the length, then peel off the tape for a neat join. But this creates several problems. First, you end up with a concave seal, which means that along the outside edges, the sealant will be microscopically thin, and will peel off and attract moisture. Second, the tape creates tiny 90° ledges, which attracts grime, moisture and mould. And third, the bacteria in your saliva can start the deterioration process on day one.
A profiling tool is a small, semi-flexible plastic card that has a 45° cut-off on one corner. All you do is apply the silicone, then run the tool along the join, and in its wake is a lovely 45° triangle of sealant. It’s thick and strong where it matters, and the 45° angle means there’s nowhere for water to accumulate.
With these top tips for tiling your bathroom, you’ll be well on your way to a job that both looks and feels professional, and – most importantly – that lasts for years to come.